- On the back of the housing, fasten 5/16″ drain hose to drain faucet using a flat-head screwdriver and stainless steel hose clamp.
- On the back of the housing, fasten 5/16″ vinyl beer line to the 5/16″ stainless steel tailpiece. Do not overtighten.
- Fasten 5/16″ jumper line with hardware to the threaded bottom of the coupler. Make sure the neoprene washer is firmly seated within the stainless steel hex nut before attaching. Tighten with an adjustable wrench.
- Attach the gas line to the corresponding tailpiece of the regulator with the provided plastic hose clamp.
- Attach regulator to the co2 tank. Make sure the neoprene washer is seated firmly within the stainless steel hex nut before attaching. Tighten with an adjustable crescent wrench.
- Attach the gas line to the corresponding tailpiece on the keg coupler. Fasten with the provided plastic hose clamp.
- Attach the coupler to the keg by placing the coupler into the top threads and turning clockwise. Pull coupler handle out and down until engaged.
- Turn on the co2 tank by opening the top valve and ensure the gas lines are in the open position.
- Adjust to approximately 30 psi. This pressure may vary. DO NOT EXCEED 45 PSI!
- Remove lid and add approximately 35 pounds of ice.
- Add water until coils are completely covered. Replace lid.
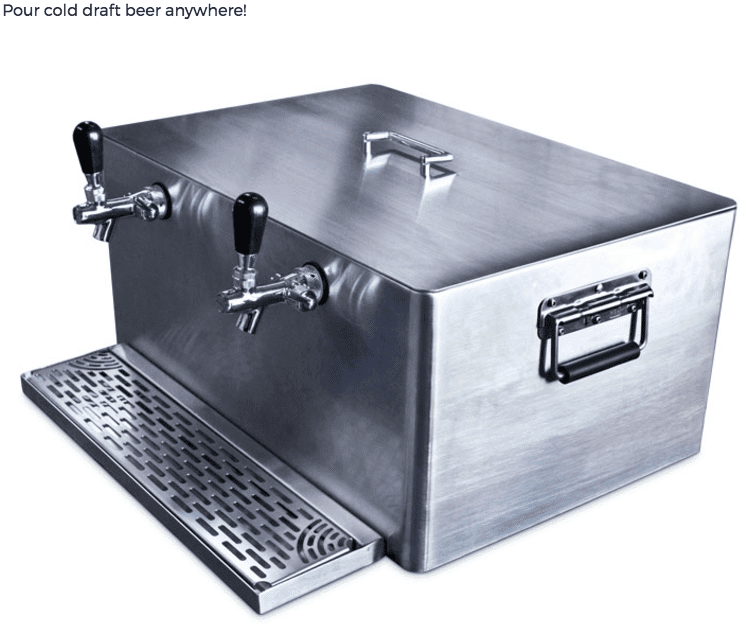
- Locate the two keyhole punches on the back of the drip tray and match them with the screw heads on the jockey box housing and slide drip housing into place.
The D system type keg is by far the most common in the United States. However, you may come across a different type of keg occasionally that requires a slightly different tapping process. Here’s a list of all the types of keg couplers and instructions on how to tap each.

For the American “D” system, European “S” system, and “U” system keg couplers:
- Ensure the keg coupler handle is in the upright (OFF) position.
- Align the two coupler lugs with the corresponding openings in the keg valve.
- Insert the keg coupler and turn clockwise to engage into position (about 90 degrees).
- Press the handle downward (ON) this will allow gas to enter the keg and beer to flow out of the keg.
For the Grundy “G” system keg coupler:
- Ensure the keg coupler handle is in the upright (OFF) position.
- Align the triangular coupler opening with the keg valve.
- Place keg coupler onto the valve and turn clockwise to engage into position (about 90 degrees).
- Press the handle downward (ON) this will allow gas to enter the keg and beer to flow out of the keg.
For the German Slider “A” & “M” system keg couplers:
- Ensure the keg coupler handle is in the upright (OFF) position.
- Align the base of coupler with the side of the keg valve.
- Slide keg coupler onto the keg valve.
- Press the handle downward (ON) this will allow gas to enter the keg and beer to flow out of the keg.
For the Twin Probe keg coupler:
- Align the two coupler probes with the corresponding openings in the keg valve.
- Push keg coupler into the valve.
- Tighten the threaded coupler to the valve.
- Turn on CO2 source.